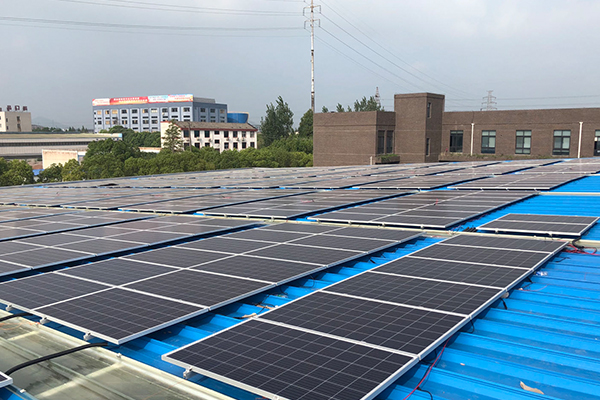
With the popularity and development of renewable energy, more and more households are installing solar panels to reduce the impact on the environment and reduce electricity costs. If you are also considering installing solar panels at home, it is very important to choose a suitable rooftop installation location for them.
Choose a suitable installation location
1. Orientation: Solar panels should face due south to maximize the capture of sunlight. If the orientation of your house does not allow the panels to be placed directly in the south, you can look for the best south-facing location nearby.
2. Angle: The angle of the panels should be adjusted according to the latitude of your area. Generally, the angle of the panels should be between 5 and 10 degrees of the local latitude.
3. Structural stability: Make sure the installation location has a strong enough structural support to withstand the weight of the solar panels and their possible wind loads.
Actual installation steps
1. Preliminary measurement and marking: Use a tape measure and marking tools to mark the installation location of the solar panels at the designated location on the roof.
2. Mounting bracket: Fix the panel bracket to the selected location using appropriately sized screws, bolts and fixings. Make sure the fixings are secure and that the gaskets and sealants are used properly to prevent rain penetration.
3. Pre-install the panels: Before installing on the roof, place the solar panels on the brackets to ensure the angle and orientation are correct.
4. Transfer the panels to the roof: Use a ladder and stabilizing equipment to safely transfer the solar panels to the roof. If the panels are large, it may take more than one person to complete the task.
5. Formal installation of the panels: Make sure the panels are placed in the center of the brackets and then lock them into place on the brackets. Use a level to ensure that the panels are level.
6. Connect the wires and inverter: After installing the panels, make the wire connections and connect them to the inverter. Please ensure that all wiring is correct and comply with local safety regulations.
7. Test the system: After the installation is completed, perform a final check of the system to ensure that the panels are working properly and can be connected to the power supply through the inverter.
With this simple DIY solar panel roof installation guide, you can add solar power generation equipment to your home, which not only reduces environmental pollution, but also may bring long-term energy cost savings to your family.

