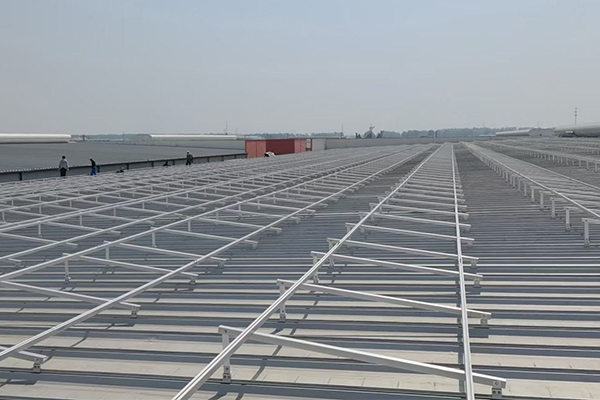
Mounting solar panels on a roof is an important step towards energy independence for residential and commercial buildings. Here are the common installation steps and considerations:
1. Planning and Preparation
Before installation, you need to evaluate the structure of the roof. South-facing roofs with an inclination between 15 and 40 degrees are ideal. In addition, the material of the roof (such as tiles or metal) will affect the installation method.
2. Choose a Mounting System
Solar panels can be installed in two main ways:
– Track-mounted systems: Tracks are arranged parallel to the roof ridgeline and gutters to provide support for the solar panels.
– Trackless systems: Solar panels are directly mounted using special clamps and are suitable for certain roof types.
3. The Installation Process
1. Mounting brackets or tracks: Secure the tracks to the roof structure to ensure they are secure.
2. Positioning the solar panels: Attach the solar panels to the tracks or directly to the roof.
3. Wiring and connecting: Connect the solar panels in series to the inverter and power system.
4. Inspection and maintenance
After installation, check whether the system is operating normally and clean the solar panels regularly to maintain efficiency.
Solar panel roof installation requires professional equipment and knowledge. It is recommended to entrust an experienced installation team to complete it.

